
⚠️ IMPORTANT — YOUR ROLE AS A STUDENT
Most NHS Trusts and healthcare providers in the UK do NOT permit student nurses to perform IV cannulation or administer any IV medication — including antibiotics, fluids, or other drugs — until you are a registered nurse and have completed Trust-approved training. This guide focuses on the principles, management, care, and recognition of complications — the things you are responsible for. Always check your local Trust policy and your university’s scope of practice before assisting with any procedure.
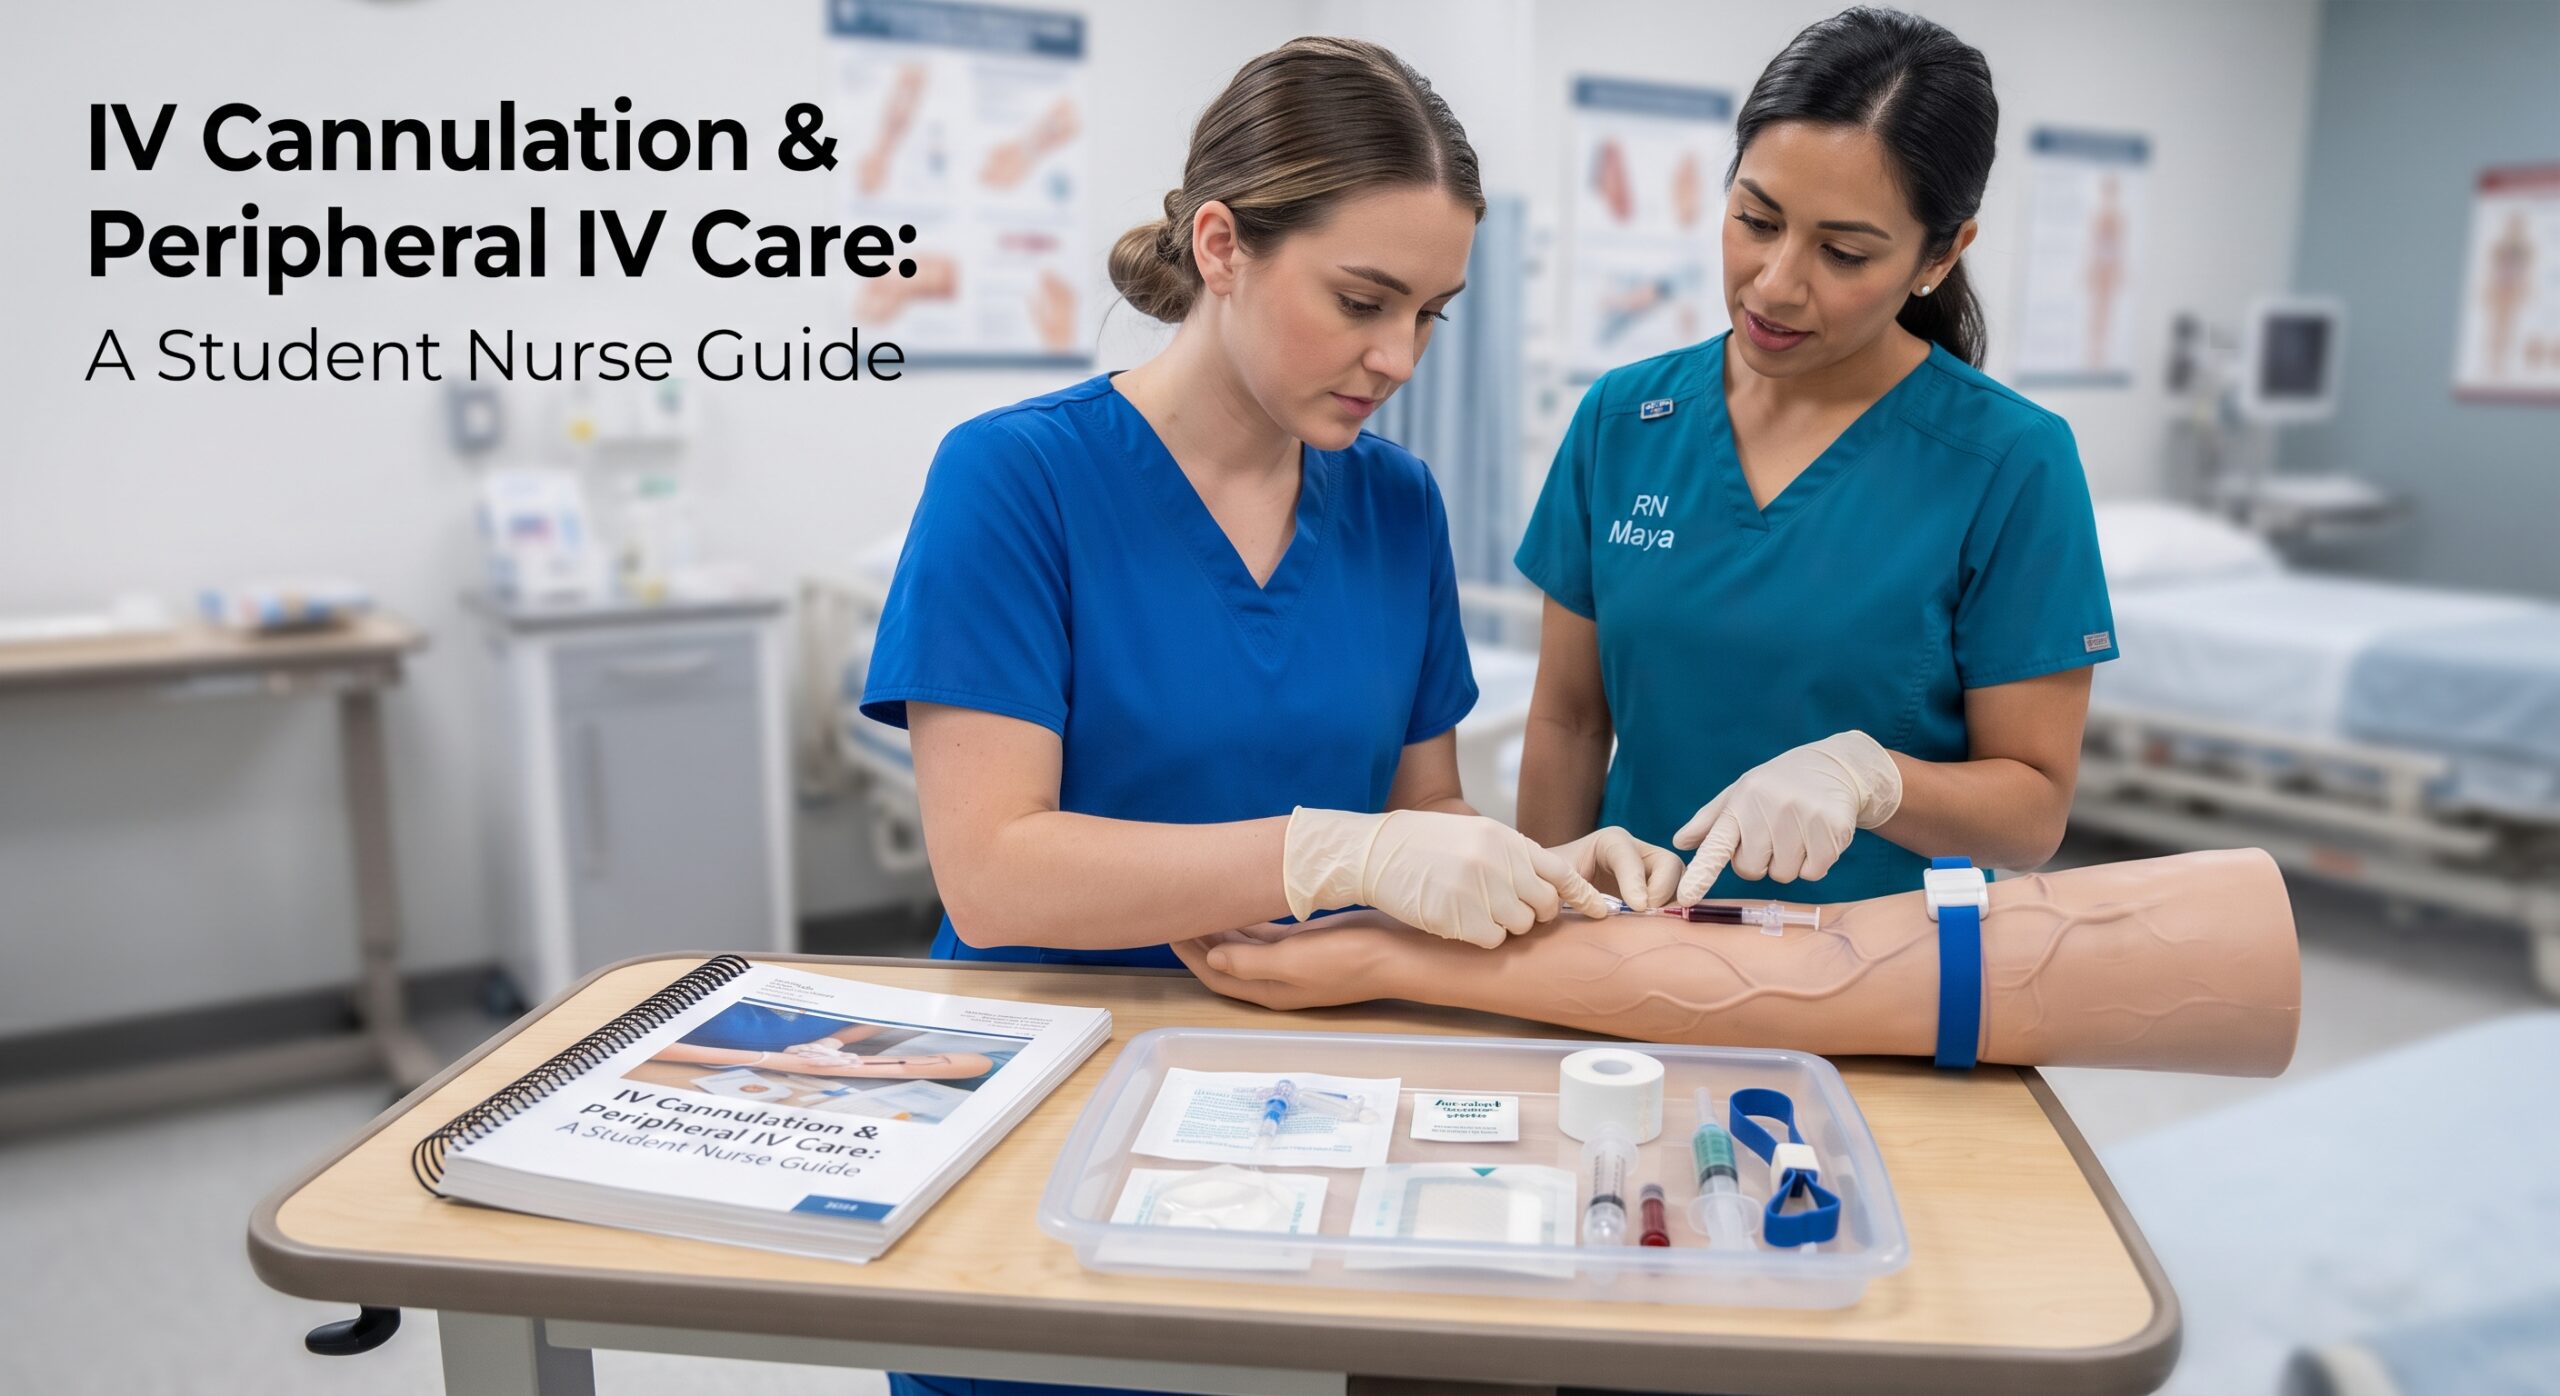
You will see peripheral cannulas on every ward you step onto. You will help set up trolleys, gather equipment, assist the team, and look after them once they’re in. But you will almost certainly not insert them or push drugs through them — and that is a good thing. IV therapy carries real risks, and it requires specific training and registration. This guide is about what you can do: understand, monitor, maintain, spot problems, and escalate. Those are the skills that keep patients safe.
A peripheral intravenous cannula (PIVC) is a flexible plastic tube inserted into a vein to deliver fluids, medication, nutrition, or blood products directly into the bloodstream. It is the commonest invasive procedure in healthcare — millions are inserted every year in the UK alone. And while you won’t be the one inserting it, you will be the one seeing it every shift, dressing it, flushing it, and deciding when it looks wrong. That makes you the first line of defence against infection, extravasation, and phlebitis.
Part 1: What Is a Peripheral Cannula — And Where Does It Go?
A peripheral cannula sits in a superficial vein in the arm or hand. It’s called “peripheral” because it’s in the outer edges of the body — not in a central vein near the heart (a central line or CVC). Understanding the anatomy helps you understand why sites are chosen, why some fail, and why we rotate sites regularly.
| Common Site | Vein | Notes |
|---|---|---|
| Back of hand | Dorsal veins | Easy access, visible, good for short-term use. Can be uncomfortable. Avoid the dominant hand if possible |
| Wrist / forearm | Cephalic, basilic veins | Larger veins, more comfortable. Avoid the antecubital fossa (inner elbow) if possible — bending the arm kinks the line and accelerates failure |
| Forearm / mid-arm | Basilic, cephalic | Best for longer duration — more secure, less likely to be knocked. Preferred site where possible |
| Ankle / foot | Dorsal venous arch | Last resort — higher risk of infection, impaired mobility, DVT risk. Usually avoided in adults unless absolutely necessary |
General principles of site selection (what you’ll see the team applying): Distal first — start at the hand and move up, so you don’t waste lower sites. Avoid: oedematous arms, arms with lymph node removal (mastectomy), paralysed/weak limbs, sites of infection, veins below existing cannulas, and areas of flexion. Always check the patient’s preference and explain everything.
A peripheral cannula secured in situ — clear dressing, visible insertion site, extension set secured. This is what you will check and document every shift.
Part 2: Gauge Sizes — What Those Numbers Mean
Cannulas come in standard sizes called gauges. The higher the number, the thinner the tube. It seems backwards until you get used to it — then it becomes second nature.
| Gauge | Colour (UK) | Typical Use |
|---|---|---|
| 24G | Yellow | Paediatrics, fragile veins, elderly, slow fluids — smallest, least invasive |
| 22G | Blue | Standard adult — maintenance fluids, antibiotics, medication. Most common general-use size |
| 20G | Pink | Larger adult — blood products, faster fluid rates, surgery. Good all-rounder |
| 18G | Green | Trauma, surgery, rapid fluid/blood transfusion — large bore, fast flow |
| 16G | Grey | Major trauma, massive transfusion — largest peripheral size. Firm veins only |
Flow rate depends on gauge and length — larger gauges (lower numbers) deliver faster. A 22G is fine for most antibiotics and maintenance fluids. A patient needing blood or rapid resuscitation needs at least 20G, ideally 18G. You’ll hear this discussed during insertion — useful to know when anticipating equipment needs.
Part 3: What You CAN Do — Your Responsibilities as a Student
You may not insert or administer, but you have a clear, vital role in the cannula’s life on the ward. These are your responsibilities — check your job description and local policy, but these are standard:
Before insertion — assisting the practitioner
- Explain the procedure to the patient simply — what will happen, how long it takes, what it will feel like
- Prepare the trolley: check packaging integrity, expiry dates, correct gauge, ANTT setup
- Position the patient comfortably — arm supported, well-lit, accessible
- Apply the tourniquet if asked — note the time applied, release promptly if delayed
- Help the patient stay calm — hold their hand, talk them through it, distract them
- Document the time of insertion and site once confirmed — this is critical for removal date
While in situ — monitoring and maintenance
- Check the site at least once per shift — and before and after every infusion. See Part 4 for what to look for
- Keep the dressing clean, dry, and intact — reinforce or replace only if trained and authorised
- Ensure the line is secured — looped and taped so it doesn’t pull
- Check flow — does fluid run freely? Is the pump alarming? Is there resistance?
- Flush — only if your Trust policy and university placement agreement authorises you to do so
- Rotate the site if it’s leaking, painful, or compromised — escalate to the nurse in charge
- Document: site, gauge, appearance, flow, any concerns — on the fluid balance chart and/or cannula care record
Removal — if authorised
Some Trusts and universities allow final-year students to remove cannulas under supervision; others do not. Confirm your authorisation first. If you do remove it: apply standard precautions, withdraw smoothly, apply firm pressure with sterile gauze until bleeding stops, apply a sterile dressing, and document time of removal and site condition.
Part 4: The 6 Signs of Cannula Trouble — What to Spot & Escalate
This is the most important section of this guide. You are the person who sees the cannula every day. If it’s going to go wrong, you’ll spot it first. Know these six patterns — and escalate early.
| Condition | What It Looks Like | Action |
|---|---|---|
| Phlebitis — inflammation of the vein | 🔴 Pain, warmth, redness along the vein; hard, cord-like vein; swelling; burning. May be mechanical (movement), chemical (irritant fluid), or infective | ⚠️ Remove cannula immediately. Document grade. Apply warm compress. Inform team. Do NOT re-site below the inflamed area |
| Infiltration — fluid leaking into tissue | 🔴 Swelling around site, cool to touch, blanching, discomfort, fluid runs slowly or stops. Non-vesicant fluid — usually harmless but uncomfortable | ⚠️ Stop infusion. Remove cannula. Elevate limb. Reassure patient. Document extent and action taken |
| Extravasation — vesicant drug leaking into tissue | 🔴 EMERGENCY. Pain, burning, swelling, blistering, tissue necrosis. Caused by drugs that damage tissue (e.g. vancomycin, chemo, some antibiotics). Can cause permanent injury | 🚨 STOP infusion immediately — do NOT flush. Leave cannula in briefly to withdraw drug per protocol. Call for help. Apply warm/cold compress as per drug. Elevate. Follow Trust extravasation policy. Document EVERYTHING. See below |
| Infection — local or systemic | 🔴 Purulent discharge, increasing redness, swelling, tenderness, fever, raised WCC. Can lead to sepsis if untreated | 🚨 Remove cannula. Send tip for culture if requested. Take blood cultures if febrile. Prescribe new site. Escalate promptly. See Sepsis recognition guide |
| Blocked / Non-patent | 🔴 Pump alarming frequently, no free flow, blood won’t aspirate, patient complains of pain on flushing | ⚠️ Do NOT force flush — can dislodge clot or damage vein. Remove and re-site. Check if it’s kinked under the dressing first |
| Displaced / Fallen Out | 🔴 Cannula partially or fully out, bleeding, dressing loose | ⚠️ Apply pressure. Cover with dressing. Record time. Re-site elsewhere. Check patient comfort |
⚠️ Extravasation — The One You Must Not Miss
Extravasation is when a drug capable of causing tissue damage leaks from the vein into surrounding tissue. It is a serious clinical incident — and the patient’s description of pain or burning during administration is often the first and only early sign. If a patient says “it stings,” “it burns,” or “my arm hurts” during an infusion — stop it immediately. Don’t wait to see if it settles. Don’t tell them it’s normal. Stop, check, and escalate. Every Trust has an extravasation kit and policy — know where yours is kept.
The Phlebitis Scale — Standardised Grading
Most wards use the visual infusion phlebitis (VIP) score or a similar 0–4 scale. If you see changes, grade it and record it. Removal is usually recommended at Grade 2 and above.
- 0 — No symptoms
- 1 — Erythema at access site with or without pain
- 2 — Pain at access site with erythema and/or oedema
- 3 — Pain at site, erythema, oedema, palpable venous cord
- 4 — Pain, erythema, oedema, palpable cord >2.5cm, purulent discharge
Part 5: ANTT — Aseptic Non-Touch Technique
ANTT is the standard method for preventing infection during any invasive procedure — including cannula care. It’s not just “being clean” — it’s a structured approach where certain parts of the equipment are never touched. You will observe and assist with ANTT constantly — these are the core principles:
- Key parts must stay sterile. The inside of bungs, the tip of cannulas, the end of giving sets — these are key parts. They never touch hands, bedding, or unsterilised surfaces.
- Prepare before you start. Gather everything, open packaging, check dates — then wash hands and apply gloves. Don’t leave a sterile item while you fetch something else.
- Maintain a sterile field. Work on a clean, dry surface. Don’t reach over sterile items.
- Hand hygiene at every stage. Before touching equipment, before touching the patient, after completion, after removing gloves.
- When in doubt, throw it out. If a key part might have been touched or contaminated — replace it. It’s always cheaper and safer to start again.
ANTT is covered in depth in your Trust’s policy and university skills labs — but seeing it done every shift is where you really learn it. Watch how the registered nurse opens the bung, how they hold the giving set, how they never touch the tip. These are the habits you’ll adopt when you’re trained to do this yourself.
Part 6: Flushing — Purpose, Procedure & Safety
Flushing maintains cannula patency — keeps it open and working. It clears the line after medication or blood sampling and prevents backflow of blood forming a clot. The standard flush is 0.9% sodium chloride (normal saline).
Before you flush — confirm you are authorised
Check your Trust policy and university agreement. Some final-year students can flush under supervision; others cannot. If you are not authorised — do not do it. If you are authorised, this is the standard approach:
- Volume: Usually 5–10mL for adults; smaller volumes for children or small cannulas
- Frequency: Every 6–8 hours if not in use; always after medication or blood sampling
- Technique: Clean the bung with an alcohol wipe and allow to dry. Attach saline syringe. Flush gently and steadily — never force. Resistance means blockage — forcing it can dislodge a clot or damage the vein. Observe the site — swelling or pain = stop immediately
- Positive pressure: Withdraw the syringe while still pushing gently — prevents blood refluxing back into the tip and clotting
Heparinised saline is rarely used for routine peripheral cannulas now — 0.9% sodium chloride is the gold standard. Heparin may be used for central lines or in specific cases — always check the prescription.
Part 7: Documentation — What Goes in the Notes
A cannula should have a clear record of every stage of its life. If it isn’t written down, it didn’t happen. Your Trust may have a dedicated IV chart or it may go in the main nursing notes. Either way, record:
Cannula Documentation Checklist
- Insertion: Date, time, site, gauge, who inserted it, patient tolerance, any difficulties
- Appearance: Site condition, VIP score, dressing status
- Usage: Fluids/drugs running, flow rate, any alarms or issues
- Monitoring: Checked — time, findings, action taken
- Removal: Date, time, reason, site condition, bleeding, dressing applied
- Re-siting: New site details if applicable
Many Trusts also put a sticker directly on the dressing with insertion date/time and removal date. This is a quick visual cue — but it does not replace full documentation. Our defensive documentation guide explains the legal and professional standards that apply here.
Part 8: Frequently Asked Questions — What Students Ask Most
| Question | Answer |
|---|---|
| When will I be allowed to cannulate? | Almost always after registration. Some Trusts offer training during final year — check with your Practice Assessor and university. Until then, observe, assist, and learn the principles — that’s your preparation |
| How long can a cannula stay in? | Standard is every 72–96 hours (3–4 days) unless the Trust has a “clinical need” policy allowing longer for specific cases. Always check local policy and the insertion date — if it’s past review date, escalate |
| Can I cannulate if I’ve been shown once? | No. Competence requires supervised practice, formal training, and sign-off. “Being shown” is not training — and it does not indemnify you or the patient |
| Why can’t I push meds even if I watched them do it? | IV medication administration carries specific legal responsibilities. Errors here can be fatal. Only registered staff who have completed Trust IV training and are signed off may administer IV drugs. This is an NMC Code requirement — not a rule to be bent |
| The cannula looks fine but won’t flush — what’s wrong? | Most commonly: kinked tubing, patient lying on it, valve in the vein closing, or tip against the vein wall. Reposition the arm first — that fixes many. If still blocked, remove and re-site. Do NOT force flush |
| Can I remove it if it’s falling out? | Check your authorisation. If not authorised, apply pressure with gauze and call a registered nurse. You can assist with pressure and dressing — but confirm your scope first |
Part 9: The Bigger Picture — Linking to Your Other Skills
IV therapy doesn’t exist in isolation — it connects to almost everything else you’re learning:
- Phlebotomy & Venepuncture — shared anatomy, site selection, vein assessment, and patient communication skills. The two form a natural “access cluster”
- Fluid Balance & IV Therapy — what goes in, how fast, what to watch for, and when to question the rate
- Sepsis Six — IV access is step one for resuscitation. Recognising a compromised cannula in a septic patient matters critically
- Infection Control — cannula-related infection is preventable. Your vigilance with ANTT and site checks directly reduces risk
- NEWS2 & Deterioration — a new fever or rising observations in a patient with a cannula may mean line infection. Don’t assume it’s something else
Final Thought
It can feel frustrating to watch others perform procedures you can’t do yet. But this is your training ground. Every time you check a site, every time you help prepare a trolley, every time you spot a red flag and speak up — you’re building the judgement that will make you a safe cannulator and a safe prescriber later.
Your job right now isn’t to insert the cannula. It’s to understand it, protect it, monitor it, and know when to call for help. That is professional practice. That is patient safety. And that is exactly what a good nurse does.
Respect your limits. Master the principles. And trust that when your turn comes — with proper training, supervision, and authorisation — you’ll be ready.
📚 References & Guidance
- NMC (2018, updated 2024) The Code: Professional Standards of Practice and Behaviour for Nurses, Midwives and Nursing Associates. Paragraphs on scope of practice, administration of medicines, and delegation — student nurse limitations.
- NICE (2019) NG125: Peripheral Intravenous Cannula Use — Site Selection, Insertion and Maintenance. Site selection, dwell time, infection prevention, ANTT principles.
- Royal College of Nursing (2021) IV Therapy: Peripheral Cannulation and Management — Clinical Guidelines. Competency frameworks, scope of practice, student roles, ANTT standards.
- Medicines and Healthcare products Regulatory Agency (MHRA) Patient Safety Alert — IV Fluid Administration and Cannula Care. Extravasation prevention and management.
- Resuscitation Council UK / NHS England IV Access in Resuscitation — Clinical Standards. Gauge selection, site choice in acute illness.
- Intravenous Nursing Society (UK) Visual Infusion Phlebitis (VIP) Score — Clinical Practice Recommendations. Standardised grading and removal thresholds.
- NHS Improvement / Patient Safety First Reducing Cannula-Related Infections — High Impact Intervention Guide. Dwell time, dressing care, monitoring frequency.
- University & Trust Local Policies Student Scope of Practice — IV Procedures. Always confirm with your specific placement Trust — policies vary.
- Douglas J, et al. (2020) “Peripheral cannula failure: why it happens and how to prevent it.” British Journal of Nursing — site selection, dwell time, securement evidence.
- NMC (2023) Standards for Medicine Management and Administration. IV medication administration — registration, training, and authorisation requirements.
Written by: Daniel Hancock, Registered Nurse
Focus: Peripheral cannula care, student scope of practice, monitoring, complications, ANTT, flushing, documentation
Published: October 2026 | Last reviewed: October 2026
Intended for: UK student nurses — clarifying what you can and cannot do, safe monitoring, early escalation
Scope of practice varies by Trust and university. This guide provides general principles and does not replace your placement Trust’s specific policy or your university’s written agreement. Most Trusts restrict cannulation and IV medication administration to fully trained, registered staff. If in doubt — check with your Practice Assessor or nurse in charge. Never perform a procedure you have not been authorised and trained to do. Extravasation is an emergency — know your Trust’s policy and kit location.
Build Your Confidence Safely
Your time to cannulate will come. Right now, master the monitoring, spotting, and escalation skills that keep patients safe every shift.